Vein Of White Gold Ore
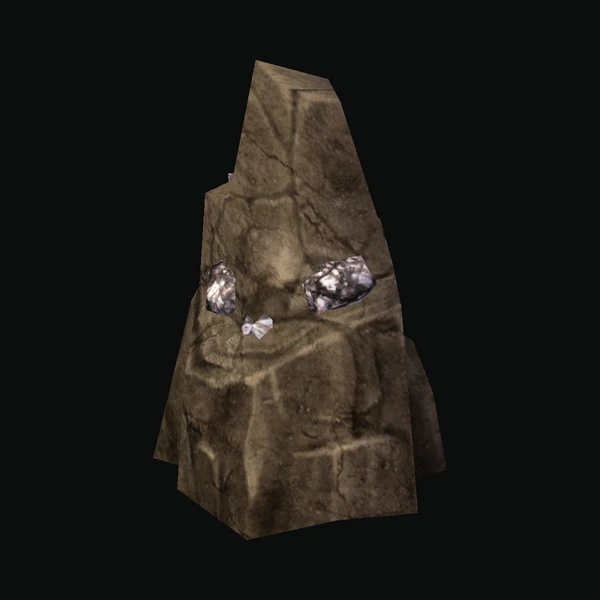
Vein Of White Gold Ore: ore vein, dug with a pickaxe; it stands in small, big and huge sizes. Stands in: Jungrang, Waryong, Imha, Mount Sohan, Doyyumhwan, Yongbi Desert.
- Function
- ore vein
Where it stands
| Map | Position |
|---|---|
| Jungrang | 152, 144, 331, 275, 134, 299, 75, 305 |
| Waryong | 156, 67, 377, 139, 169, 172, 301, 216 |
| Imha | 422, 61, 56, 63, 182, 93, 431, 394 |
| Mount Sohan | 762, 209, 350, 345, 299, 475, 774, 510 |
| Doyyumhwan | 1393, 179, 510, 276, 653, 378, 936, 474 |
| Yongbi Desert | 1183, 211, 1250, 219, 657, 229, 868, 253 |
| Valley of Seungryong | 762, 151, 760, 183, 137, 184, 1195, 288 |
| Hwang Temple | 163, 126, 912, 155, 101, 218, 509, 463 |
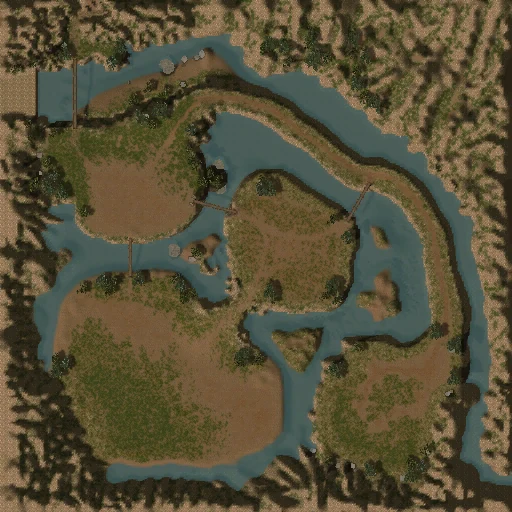
Jungrang
What digging gives
Small vein – beginner maps
| Item | Count | Chance per successful dig | Rule |
|---|---|---|---|
 White Gold Ore | 1–90 (mean 25) | 100% | always on a successful dig |
| Spirit stone +0 | 1 | 0.8% | rolled on its own, a random kind |
 Quartz Sand | 1–2 | 2.5% | rolled on its own |
 Piece of Gem | 1 | 1% | rolled on its own |
 Enchant Item | 1 | 0.4% | rolled on its own, at most one a day per account |
 Reinforce Item | 1 | 0.4% | rolled on its own, at most one a day per account |
Small vein – middle maps
| Item | Count | Chance per successful dig | Rule |
|---|---|---|---|
| White Gold Ore | 1–90 (mean 25) | 100% | always on a successful dig |
| Spirit stone +0 | 1 | 1.2% | rolled on its own, a random kind |
| Quartz Sand | 1–3 | 3% | rolled on its own |
 Water Crystal | 1 | 1.5% | rolled on its own |
| Piece of Gem | 1–2 | 1.5% | rolled on its own |
| Enchant Item | 1 | 0.4% | rolled on its own, at most one a day per account |
| Reinforce Item | 1 | 0.4% | rolled on its own, at most one a day per account |
Big vein – beginner maps
| Item | Count | Chance per successful dig | Rule |
|---|---|---|---|
| White Gold Ore | 2–135 (mean 37.8) | 100% | always on a successful dig |
 White Gold | 1 | 0.3% | rolled on its own |
| Spirit stone +0 | 1 | 1.5% | rolled on its own, a random kind |
| Quartz Sand | 1–3 | 3% | rolled on its own |
| Piece of Gem | 1–2 | 1.5% | rolled on its own |
| Water Crystal | 1 | 1% | rolled on its own |
 Clam | 1 | 0.25% | rolled on its own |
 Stone of White Gold Lode | 1 | 0.4% | rolled on its own |
 Mining Guide | 1 | 0.4% | rolled on its own |
| Enchant Item | 1 | 1% | rolled on its own, at most one a day per account |
| Reinforce Item | 1 | 1% | rolled on its own, at most one a day per account |
Big vein – middle maps
| Item | Count | Chance per successful dig | Rule |
|---|---|---|---|
| White Gold Ore | 2–135 (mean 37.8) | 100% | always on a successful dig |
| White Gold | 1 | 0.4% | rolled on its own |
| Spirit stone +0 | 1 | 1.5% | rolled on its own, a random kind |
| Spirit stone +1 | 1 | 0.6% | rolled on its own, a random kind |
| Water Crystal | 1–2 | 2% | rolled on its own |
 Blue Crystal | 1 | 1.5% | rolled on its own |
| Clam | 1–2 | 0.5% | rolled on its own |
| Piece of Gem | 1–2 | 1.5% | rolled on its own |
| Stone of White Gold Lode | 1 | 0.4% | rolled on its own |
| Mining Guide | 1 | 0.5% | rolled on its own |
| Enchant Item | 1 | 1% | rolled on its own, at most one a day per account |
| Reinforce Item | 1 | 1% | rolled on its own, at most one a day per account |
Huge vein – beginner maps
| Item | Count | Chance per successful dig | Rule |
|---|---|---|---|
| White Gold Ore | 2–180 (mean 50) | 100% | always on a successful dig |
| White Gold | 1 | 0.6% | rolled on its own |
| Spirit stone +1 | 1 | 1.5% | rolled on its own, a random kind |
| Water Crystal | 1–2 | 2% | rolled on its own |
| Blue Crystal | 1 | 1% | rolled on its own |
| Clam | 1–2 | 0.5% | rolled on its own |
 Wing Feather | 2–4 | 3% | rolled on its own |
| Stone of White Gold Lode | 1 | 0.4% | rolled on its own |
| Mining Guide | 1 | 0.5% | rolled on its own |
| Enchant Item | 1 | 2% | rolled on its own, at most one a day per account |
| Reinforce Item | 1 | 2% | rolled on its own, at most one a day per account |
Huge vein – middle maps
| Item | Count | Chance per successful dig | Rule |
|---|---|---|---|
| White Gold Ore | 2–180 (mean 50) | 100% | always on a successful dig |
| White Gold | 1 | 0.8% | rolled on its own |
 Diamond | 1 | 0.2% | rolled on its own |
| Spirit stone +1 | 1 | 2% | rolled on its own, a random kind |
| Spirit stone +2 | 1 | 0.6% | rolled on its own, a random kind |
| Blue Crystal | 1–2 | 2% | rolled on its own |
| Clam | 2–3 | 0.5% | rolled on its own |
 White Pearl | 1 | 0.15% | rolled on its own |
| Wing Feather | 3–5 | 4% | rolled on its own |
| Stone of White Gold Lode | 1 | 0.4% | rolled on its own |
| Mining Guide | 1 | 0.6% | rolled on its own |
| Enchant Item | 1 | 2% | rolled on its own, at most one a day per account |
| Reinforce Item | 1 | 2% | rolled on its own, at most one a day per account |
The chance is per successful dig; a failed dig gives nothing. The server's drop multiplier does not change it, and it does not depend on the level difference. A vein has its own table for each size and for the band of the map it stands on.
The maps' bands: beginner maps: Yongan Area, Yayang Area, Jungrang, Joan Area, Bokjung Area, Waryong, Pyungmoo Area, Bakra Area, Imha; middle maps: Mount Sohan, Doyyumhwan, Yongbi Desert, Valley of Seungryong, Hwang Temple; level 95–105 maps: Cape Dragon Fire, Gautama Cliff, Nephrite Bay, Thunder Mountains
Related pages
- Vein Of Jade Ore
- Vein Of Ebony Ore
- Pile Of Clams
- Vein Of Crystal Ore
- Vein Of Amethyst Ore
- Heaven's Tear Vein
The data is Imperion2's own server data; other servers use other values.